How to Use My Dotfiles
Practical configurations to streamline your setup.
4 minutes to read
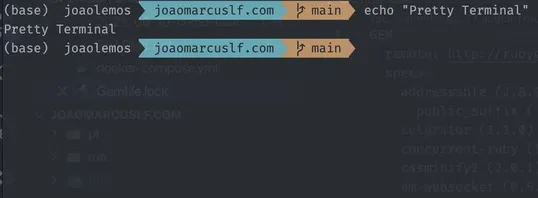
In the past, it was quite common for people to share their setups, and I particularly loved reading these kinds of posts, until I decided to configure my own setup. I built it on top of oh-my-zsh with some plugins and an adaptation of one of its very popular themes. And since I'm great at following trends that have already faded, I decided to write a post explaining the step-by-step process of how I set up my development environment.
Disclaimer:I tried to make the setup work on all Unix-like systems. On those I tested (Manjaro, Fedora, Ubuntu, Linux Mint, Mac, Raspberry Pi), I managed without major difficulties, at most adapting a step to the environment used.
Pre-Steps
Some steps could not be added to the setup because they are environment-specific. Let’s look at them individually.
Homebrew (Mac)
Project link: Site
This section is specific to Mac; if you're on Linux, you can skip it.
/bin/bash -c "$(curl -fsSL https://raw.githubusercontent.com/Homebrew/install/HEAD/install.sh)"
Fira Code
Project link: Github
This is one of my favorite fonts, and I usually use it both in the terminal and in the text editor.
On Mac, you need to have Brew:
brew tap homebrew/cask-fonts
brew install --cask font-fira-code
On the Linux systems I used:
// Ubuntu / Linux Mint
sudo apt install fonts-firacode

// Manjaro
sudo pacman -S fira-code-fonts

// Fedora
sudo dnf install fira-code-fonts
For other cases, check the repository at the top of this section.
Hyper
Project link: Site
Hyper is a terminal that works on both Linux and Mac, so I opt for it since I can keep my terminal configs easily shared. Just click the link, and it will show the download option.
Git-extras
Project link: Github
A small Git dependency, it is important for some zsh plugins.
Some commands to speed things up. If your OS is not listed here, check the repository at the top of this section.
// Mac
brew install git-extras

// Ubuntu / Linux Mint
sudo apt install git-extras

// Manjaro
sudo pacman -S git-extras

// Fedora
sudo dnf install git-extras
ZSH
Project link: Github
Zsh is a replacement for bash widely used in development environments. I chose to use it as I can easily share my terminal configs. Just click the link for the download option.
// Mac
brew install zsh

// Ubuntu / Linux Mint
sudo apt install zsh

// Manjaro
sudo pacman -S zsh

// Fedora
sudo dnf install zsh
Verify everything is working with the command: zsh --version. If successful, set ZSH as the default shell and restart the terminal.
chsh -s $(which zsh)
If it still doesn't work, try restarting your environment and follow some answers in this thread.
Dotfiles
Project link: Github
Initial Commands
cd ~
git clone https://github.com/joaomarcuslf/dotfiles/
// Wait for the Git clone to finish
cd dotfiles
// Make the script.sh executable
sudo chmod +x start.sh
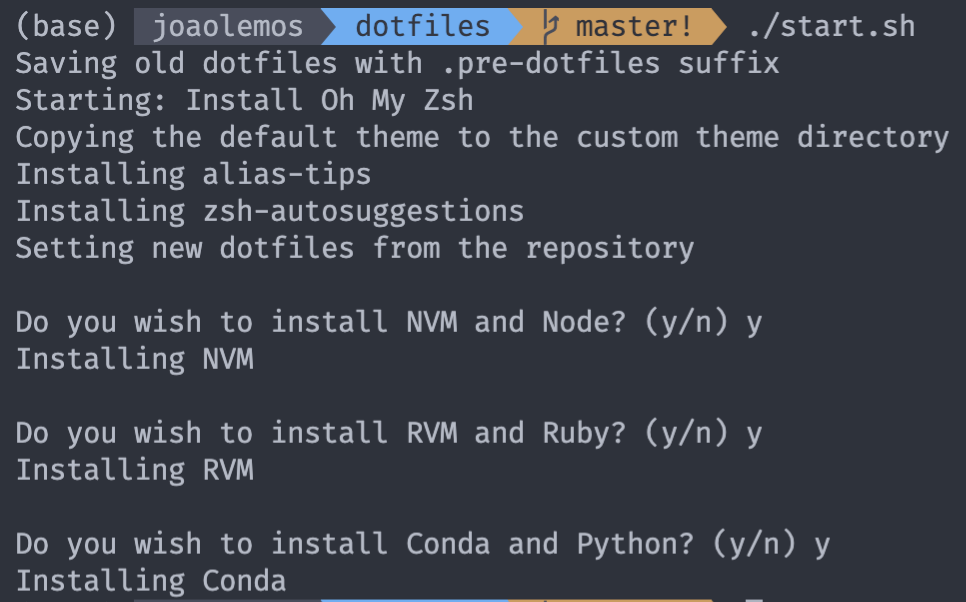
./start.sh
After running this, you will be prompted to install some packages. Respond y for each, or n if uninterested.
Now you have everything configured and ZSH plugins installed.
You can find shortcuts I created to type less in the alias section.
2023-09-04 Update
I also created a script called git-profile to automate Git and SSH configuration handling. To ensure it’s installed, follow this terminal step-by-step:
cd ~
cd dotfiles
git pull

refresh

cat ~/scripts/git-profile.js
...